Showing posts with label recycle. Show all posts

Tuesday, March 1, 2011

Bracelets DuJour: Tutorial


Can Tab Bracelets

We collect Can Tabs at our house. We don't drink a lot of drinks from cans, but when we do, we try to save them. Our schools collect them for a local Ronald McDonald House.

Today I was at a Hallmark Store shopping for a birthday gift, and I spotted a Can Tab Bracelet for sale. I couldn't believe it! It occurred to me that I had never made these before but I wondered how hard it could be. NOT HARD AT ALL, apparently.

I made two and I will show them both here. The tutorial is easier to see using the elastic thread, so you'll see that first.


You will need to cut off about 2 feet of string and 20 to 25 Can Tabs - washed clean.

Take your first Tab and thread the string through the top and bottom holes. I tied it so that it would be easier to manage, making the Can Tab on the end immovable.


Take your second Tab and, keeping the rough side together with the rough side of the first Tab, thread the string through that one.


Then, alternating sides and overlapping (like brickwork), you need to add another Tab. See how I have the lower Tab, rough facing up, and the top Tab (rough down) is sort of off to the side? That is where the next Tab will go.

Place it rough side down next to the top Tab. Then, cross feed the string, like you thread a sneaker. Making an X.


Then you just keep doing it...

I found a random green Can Tab. How cool! I have no idea what it is from...


And then I had some interference...

He really wanted to play! I was holding the Tab chain for a picture.

Then it looks like this:

And this:

Then I made the one with the blue ribbon. Make sure you leave enough ribbon (at LEAST 2 and a half feet) because the ribbon is not stretchy like the elastic string used in the first one.


I hope you give these a try. They are so simple - Using my phone, I took photos of the ones at the store and was able to make them myself. Though they used a different material (wire, it looked like, wrapped instead of crossed) they look similar. My teenagers love them. The ones I saw at the Hallmark Store had a bead attached to them, so maybe I'll try that next.

The parties I'm linking to are below, so go check them out! I am going to indulge myself Wednesday night and take over the computer just so I can go and see what fun things everyone is making.

I hope you get the chance to be creative today!

Tip Junkie handmade projectsgiveaways

Monday, February 14, 2011

Flowers for your Sweet

Silk Flower Tutorial

For this project you will need silk fabric scraps. I used pieces of an old shirt. You just need a small amount, so you can buy some pieces or, if you are feeling adventurous, you can go to Goodwill and look for silk shirts.


The list is as follows
:

Silk Fabric
A Candle

A Match
Scissors
Glue Gun
One Bead
A length of Ribbon

Cut out graduating circles of the silk. These do not even have to look like nice circles, they can be oblong and have square points along the edge.

Light the candle.


Taking one of the silk circles, holding it shiny side up, hold the fabric over the candle flame. Don't hold the very edge over the flame, but a centimeter or so from the edge. I found that if you hold the cut edge over the flame, the fabric doesn't turn and roll up. As I said, hold it a little toward the center, away from the edge.


If you do burn the fabric a bit, you can just cut it off.


After I had done it a little, I decided I liked some of the singed edges, so I didn't worry about them as much. Maybe it was the color I chose.


Once you have used the flame to curl up the edges of all of the circles, use the glue gun to place a dot of glue in the center of the largest circle. Place the next sized-down on top. Continue doing this, and on the smallest, place the bead on top, with the thread hole turned sideways so it won't be seen.


At this point you will have to decide if you are going to use it as a pin or a necklace or sew it onto a pillow.


I finally glued mine onto a ribbon and my daughter wore it to school on her wrist the next day. I made another for myself and I wore it around my neck as a choker.


I saw this craft online on Makiablog.com, and I couldn't find the sight to find out what kind of fabric was used... so I want to thank my sister-in-law Karen (a Master Sewer!) for letting me know that silk would work.

I hope you get the chance to be creative today!


Today's Creative BlogAnything Related

Wednesday, February 2, 2011

Bottle Cap Charm and Earrings

My 13 yr old, the Goddess, is a crafty little bugger. She is always building things or making things. Yesterday we had a snow day and she made this charm bracelet.

She saves bottle caps and used one, and then cut pictures and words from a magazine and arranged them inside of the bottle cap. This makes a very cute charm. She cut a length of chain and recycled the clasp from an old necklace and wired it all together.
True to her crafty nature (and lazy), rather than going to get the Mod-Podge to seal her pictures in the bottle cap, she used glue. Yes, plain old GLUE.

Later I said, honey, are you sure you don't want to seal that again - with Mod-Podge? She replied, yes, I do. With glue.

Oh well, I don't want to stifle her creativity!
Lord knows, I need all the push I can get to work outside the box.

She is going to wear it just like this, but plans to make other charms to attach to it. She painted the back of the cap green but decided to wipe it off, and she says she likes the painterly feeling of the green in the nooks and crannies of the cap edges.


These are the earrings she made. She kept them simple, just using a hammer and a nail to poke a hole in the bottle cap, then she added the earring fob. She didn't decorate the earring at all, just kept with the Coke logo.

Pretty nice for a few minutes of work! She wore them today and her sister is envious - and it inspired her to create some of her own.

I hope you get the chance to be creative today!


Monday, January 31, 2011

Simple No-Sew Puppets and Puppet Stage

Yesterday my youngest daughters joined me recreating something they did when they were little. We made puppets and a puppet stage. We are going to give it to my youngest niece for her birthday. We aren't done yet but here are very simple instructions for you to get your own Puppet Show started!


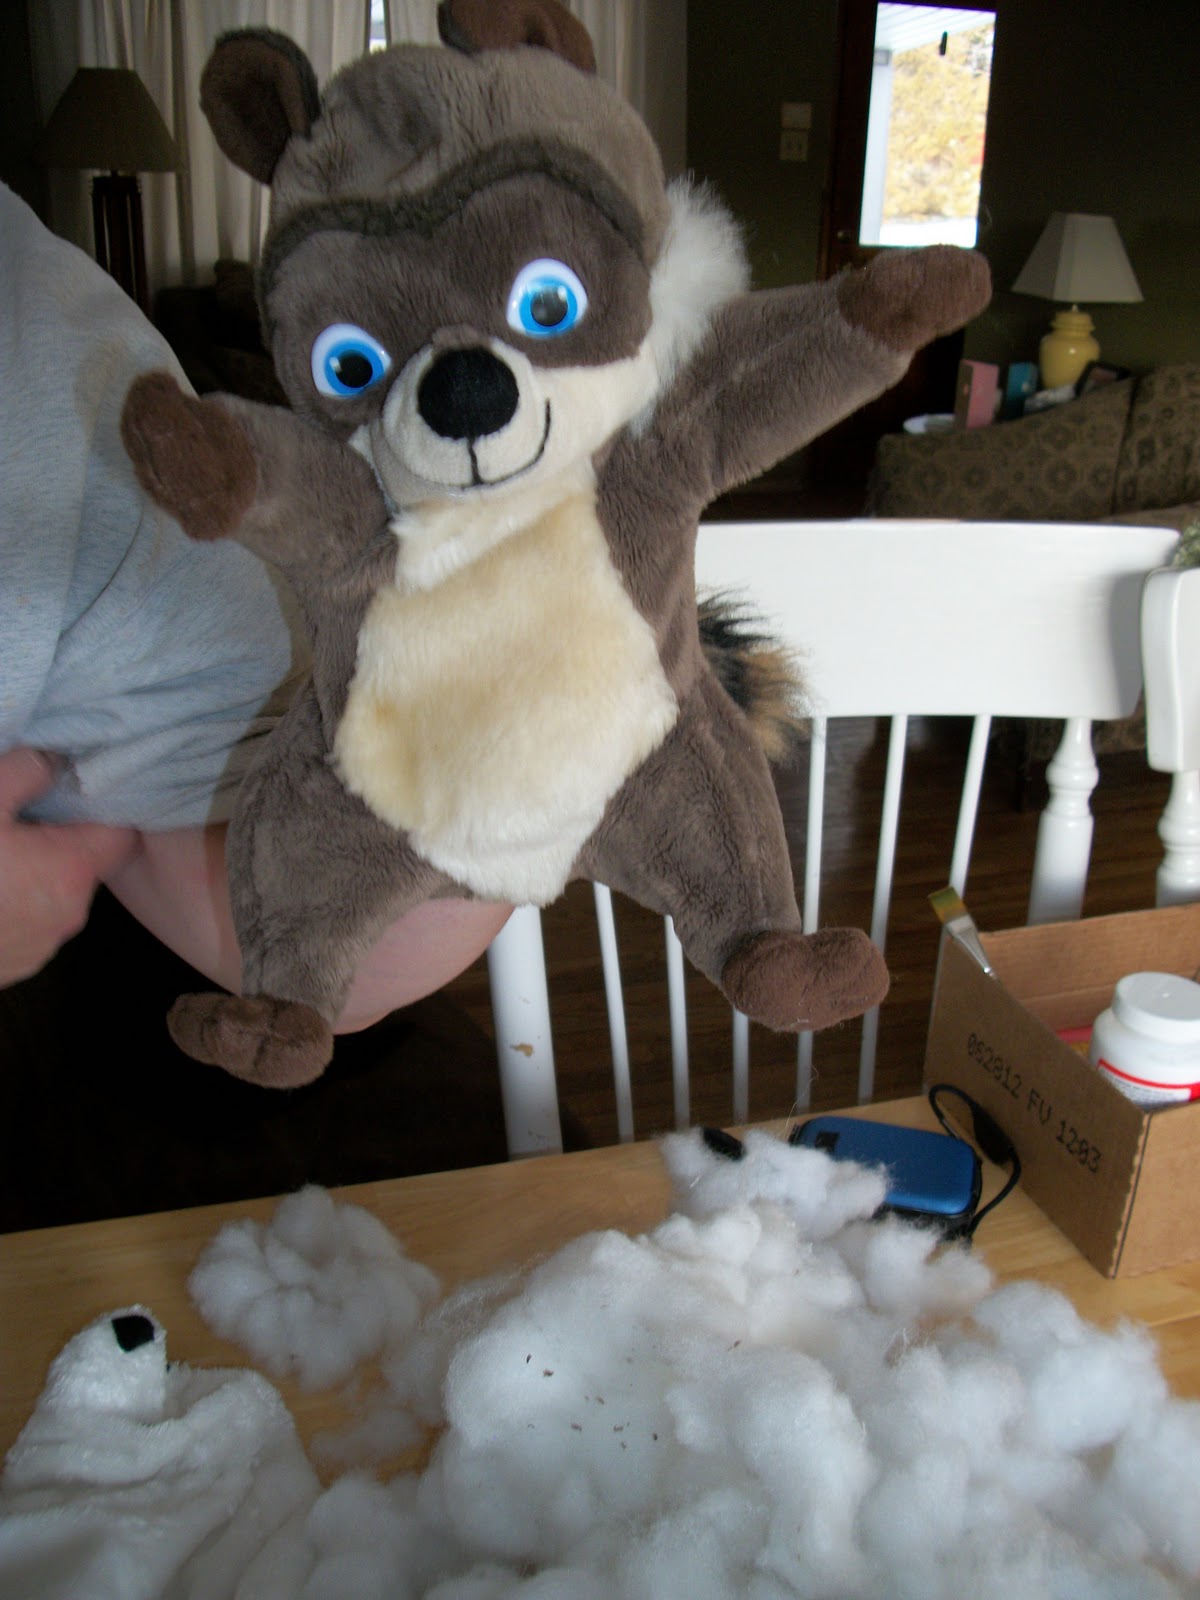
We started with three stuffed animals, though for some reason we didn't take a picture of the third one. He is a polar bear. Aren't they cute?

You will need some scissors and maybe a seam ripper.
The first step is to turn your stuffed animal over and cut out the bottom seam. Don't worry, the animal will probably get more use as a puppet!


Make sure you remove the stuffing from every area inside the stuffed animal. Also, depending on the ages of your children, you will want to check the steadfastness of its eyes or nose or any attached decorations.
Its that easy. Once the stuffing is out, you are done!


Next we worked on the polar bear...


It was fun; they're so cute.


Here are two of our puppets in repose:


Next you'll need a stage. This part even more simple than the puppets. You will need a curtain. Yup, a curtain. You can find one in your closet or if you need to, just stitch up a sheet so that it has a rod pocket. Next you will need a spring rod.

From Country Curtains

From Target

I know it sounds like you are putting up curtains on a window, but you aren't.

You will be putting the curtain up in a doorway! Just use the bottom of the cafe curtains. That is your stage. Make sure it is tight so that any exuberant little puppeteers have less chance to pull down the stage.

And you're done! That's it.
You probably have a great supply of puppets and you didn't even know it!


I hope you have a chance to do something creative today!